
Take a good look at the room that you are currently in, how’s the paint doing?
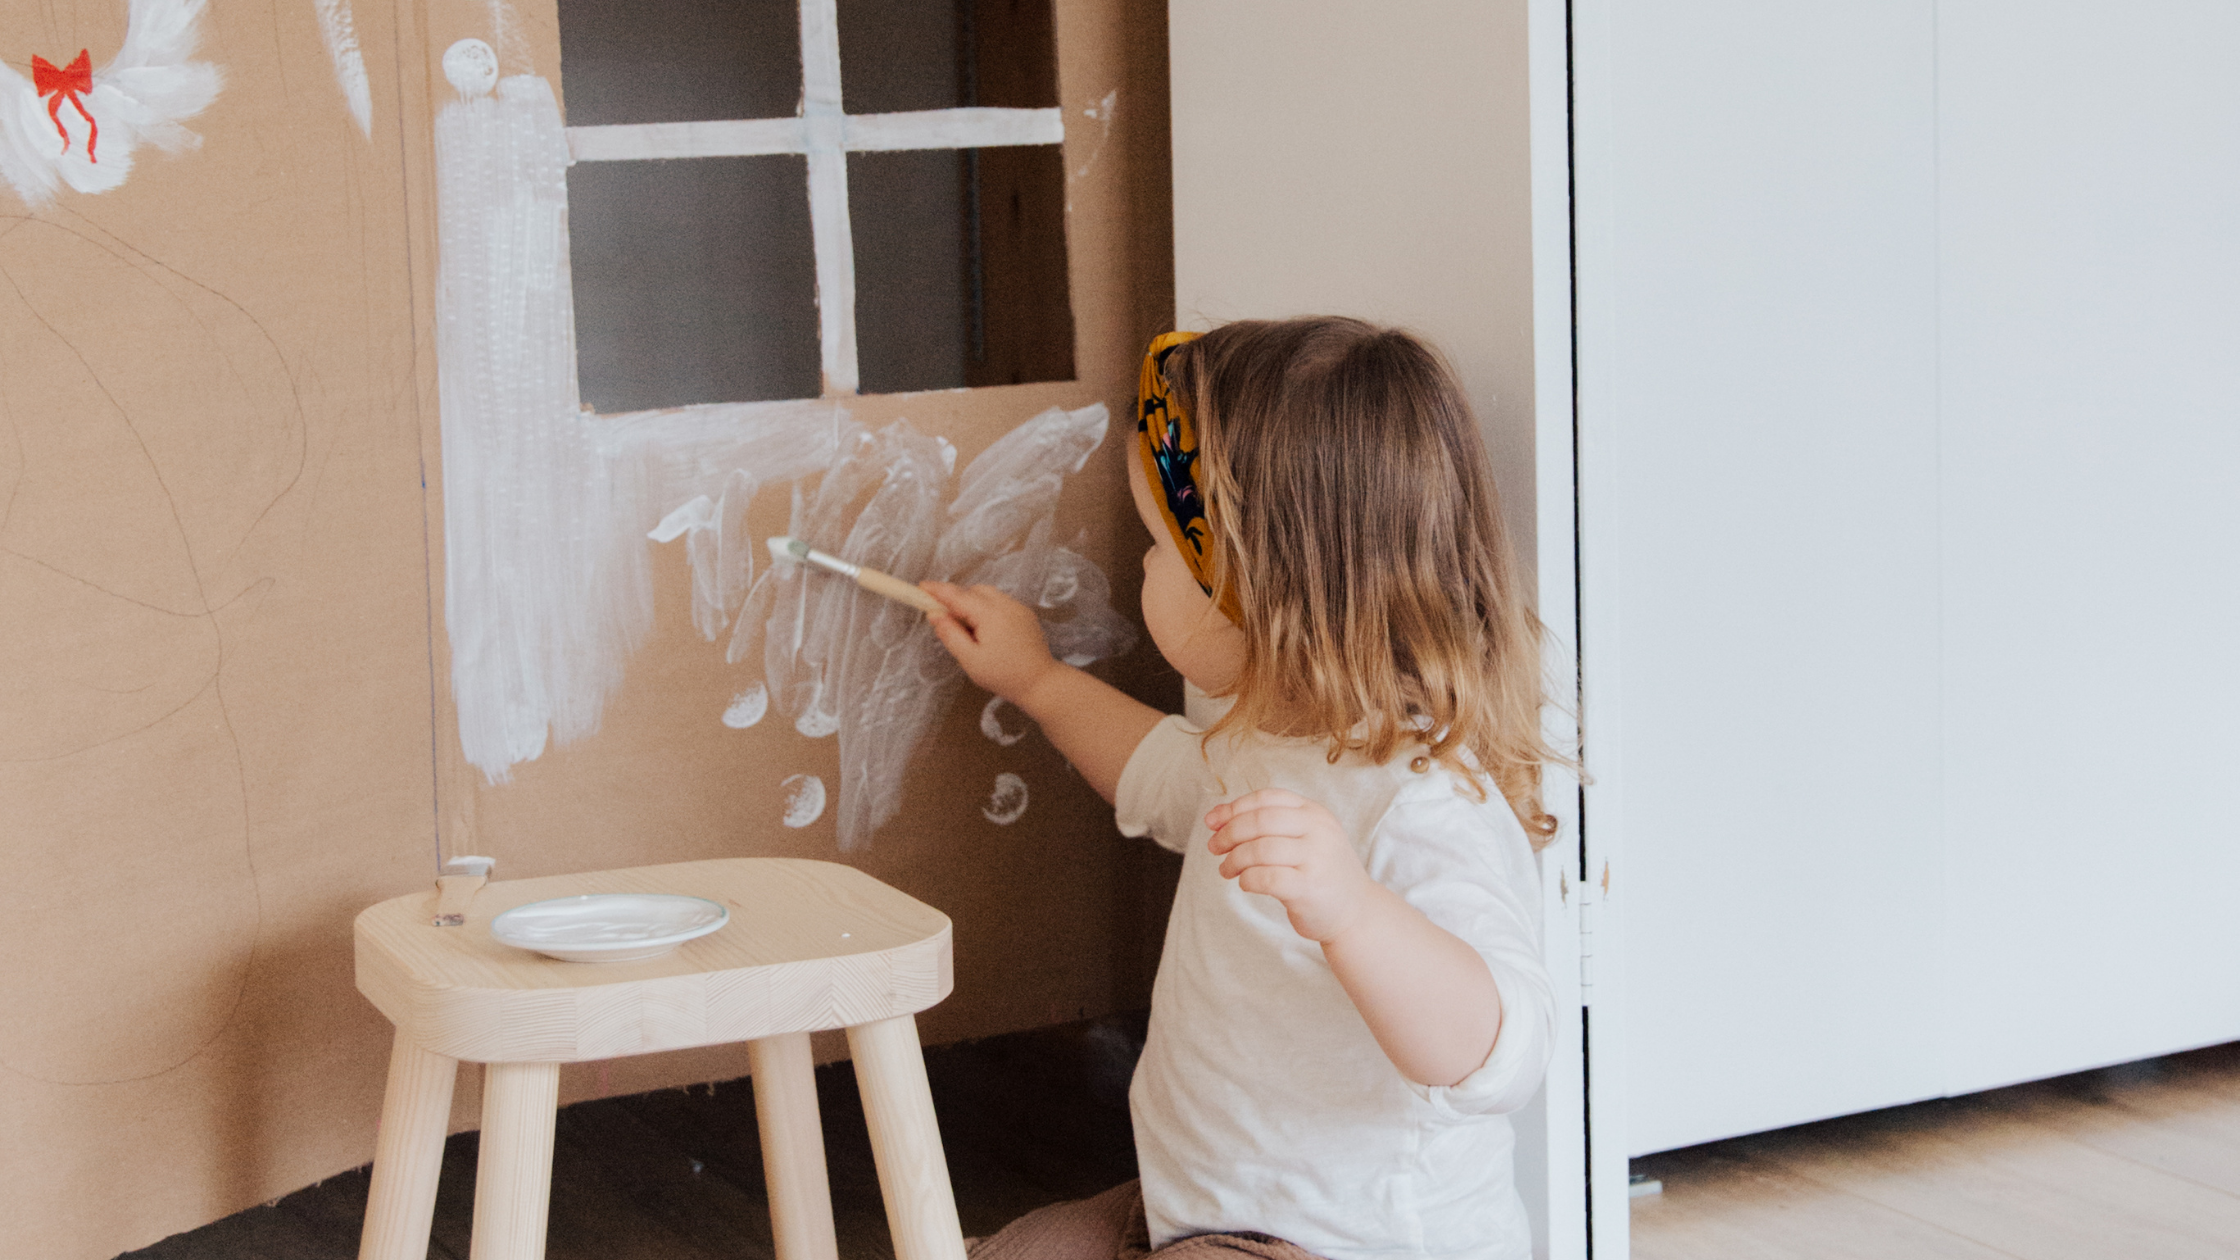
Is it clean, is the paint chipping off, and if you have kids you might find fingerprints all over the walls or stick figures drawn with color pencils on it?
If that is the case, then I would suggest your room probably needs a fresh coat of paint.
Now, you might be thinking to yourself that is a project that you would not dare to tackle because honestly, it can be daunting, but you might be surprised to find out that you can easily do it with a quick few steps.
My dad has been a painter for over 20 years, he has painted many houses, more than I could ever count. Occasionally my brother and I would go with him and help him out in whatever we could.
Obviously, we were not the ones climbing the ladder and cutting straight lines to where the walls met the ceiling or spraying or any of the tasks that required a great length of experience but we would help organize his materials in the van and do the cleanup.
Accompanying my dad at work for a couple of years has helped me picked up a few painting techniques about how to paint a room.
There are a few reasons why you should consider painting a room in your house.
- For starters, it can be fun, and you can invite family members and friends to help you out.
- It can give you a sense of accomplishment as you work your way through the steps. After you are done, you can take a few steps back and admire the work that you just completed with your own effort.
- You get to enjoy a freshly painted room with a color that you like.
What are the 3 Main Steps:
- Choosing a color
- Preparation/Material
- Painting
The room that you choose to paint does not necessarily have to be your bedroom, it could be your living room or even a small closet, in fact, I would suggest you start with a small project like a closet or a laundry room.
According to my dad, it is best to have a professional paint bigger project because it could cost more if you do it yourself. Especially when cutting straight lines up to the ceiling, otherwise you will have to use a lot of masking tape.
Choosing a Color
 Beginning with the colors. From my own experience, most people prefer to go with a light color. My father’s costumers rarely chose strong colors and most of the time they chose one color for the entire interior of their house instead of choosing one color per room because lighter colors are generally easy to maintain.
This of course is a personal preference and some people like bold colors, according to Goodhousekeeping.com, designers’ top seven colors in 2020 are a mixture of both bold and light colors which include: classic blue, white, blush, burnt orange, peacock, hunter green and clay.
If so, you desire, you can opt with any one of those colors.
Preparation/Material
I assure you; you will not have trouble finding any of the materials that you will need for your project.
According to Statista “the Home Improvement Research Institute” estimated that the home improvement products market in the United States [grew] by 4.1 percent in 2019.”
Moreover, most of the home improvement products are specially made to help make DIY projects easier to tackle. Sometimes not knowing where to buy the right materials can be time-consuming but when it comes to painting a room in your house, you can locate these items in any home improvement store.
 Here is a list of materials that you will need beside the paint.
- Paintbrush
- Masking tape
- Rollers
- Paint tray
- Roller extension pole
- Rugs
- Calk
- Caulking gun
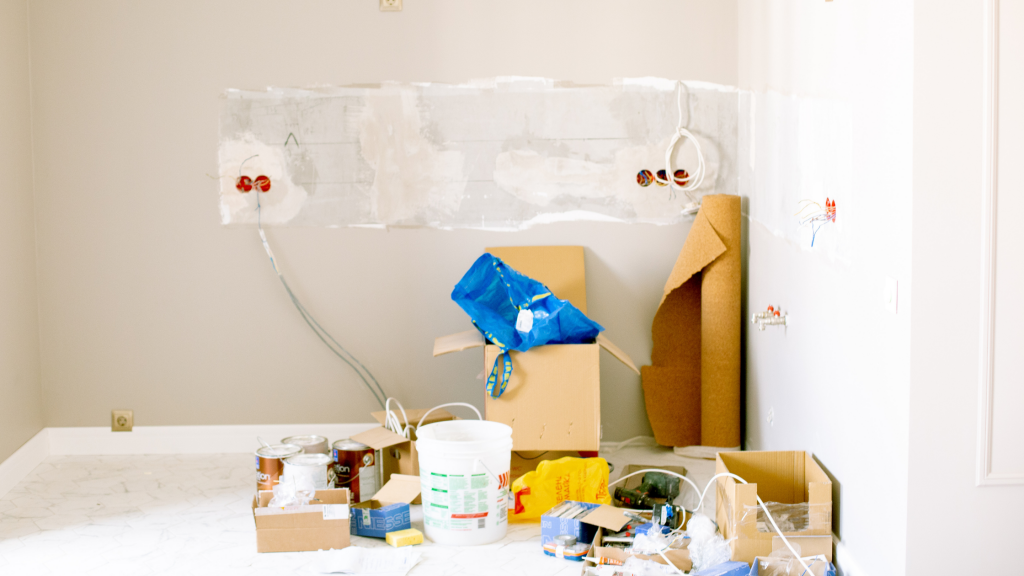
Assuming that the room that you are painting is empty, the very first thing to do before you do anything else is to cover your floors with drop cloths.
Then you will want to make sure to fill in any holes with some calk using your calk gun. After that, you will go ahead and use your masking tape to mask off the trims of the windows, doors, baseboards, and along the lines on the ceiling.
This will help you cut straight lines along the edges of the trims. It is also important to remove the outlet cover and place a strip of tape on the outlet so that it doesn’t get covered with paint when you start painting.
Painting
Once you are done with all the preparation, with a paintbrush begin painting along with the trim, baseboards, and corners.
Pour the paint in the paint tray and roll your roller back and forth until it is fully soaked with paint, place it on the wall and begin rolling until the wall is completely covered.
Repeat process for a second coat.
According to my dad, if you uncover major damages as you are doing any preparation, it is best to consult it with a professional.
Painting a room in your house can be one of the most enjoyable projects, all you need to do is: Decide on a color that you like, either going along with the top seven designer’s colors or choosing any that sparks joy and comfort for you.
Your project will not take long to be finished once you buy all the needed materials which can easily be found at any home improvement store. Finally, once the materials are all gathered, you can begin working on bringing a dull room back to life!
So, take a look around and you might just realize that the room that you are in can do with a coat of paint of your favorite color. As my dad says, there are no projects too big or too small, with the right tools, motivation, and an eagerness to learn you can accomplish anything!
Check out more of our DIY projects here!


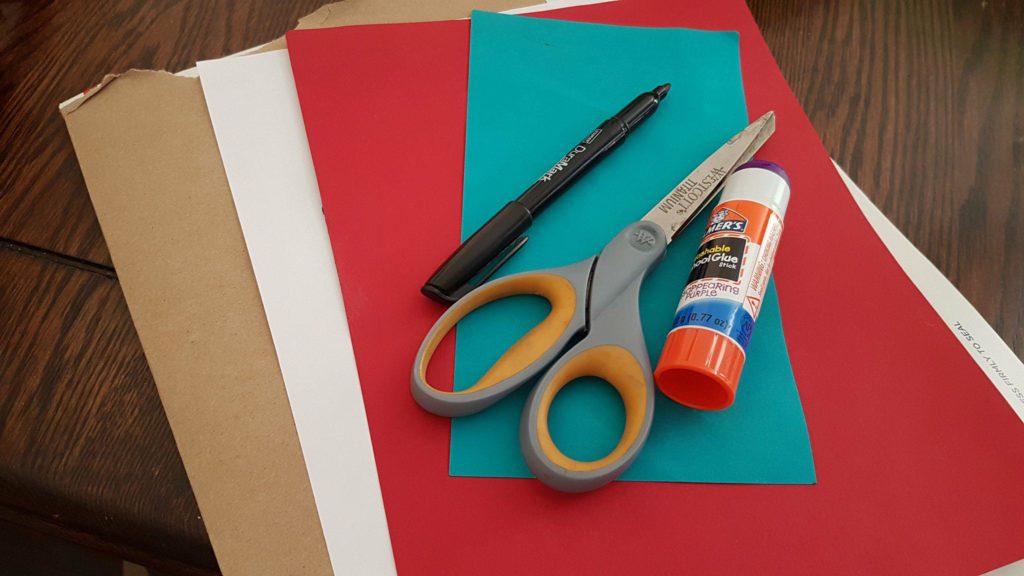

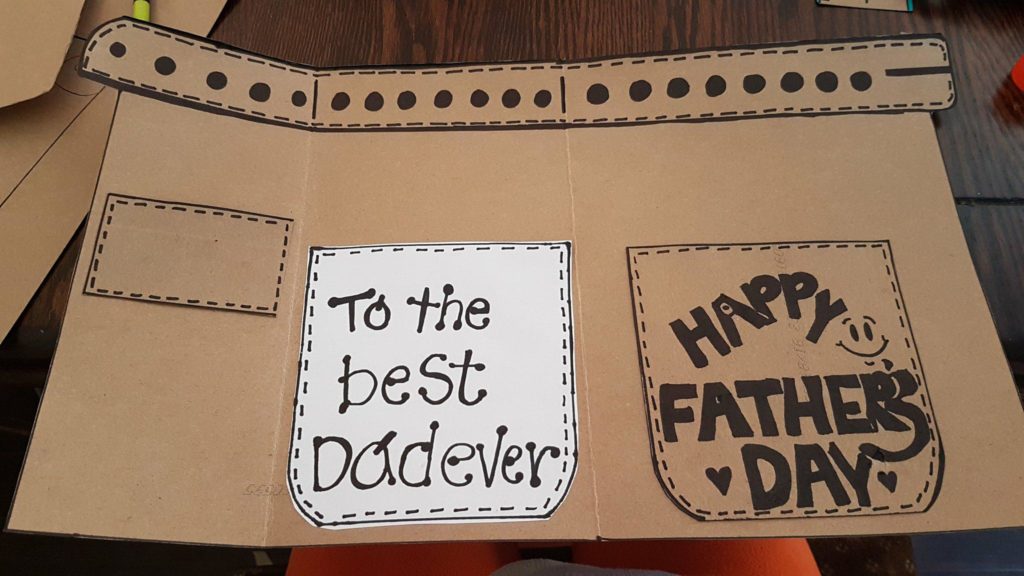


 Isn’t it fun to have your displays at home customized and self made? For me its a big YES! Its unique and you can have all your imagination come to life into an awesome craft! Having an authentic house decor doesn’t have to be expensive, it only takes some creativity to make that wonderful idea into reality and transform it into a beautiful masterpiece. I thought that it would be the perfect time to start making DIY displays after redesigning our room last new year.
 I’ve selected paint colors that would make it look like its wooden and vintage or antique. It will only require few materials and the procedure is simple and easy, it will only take you some time to turn that empty blank template into that real thing you imagined it to be, vintage and unique.
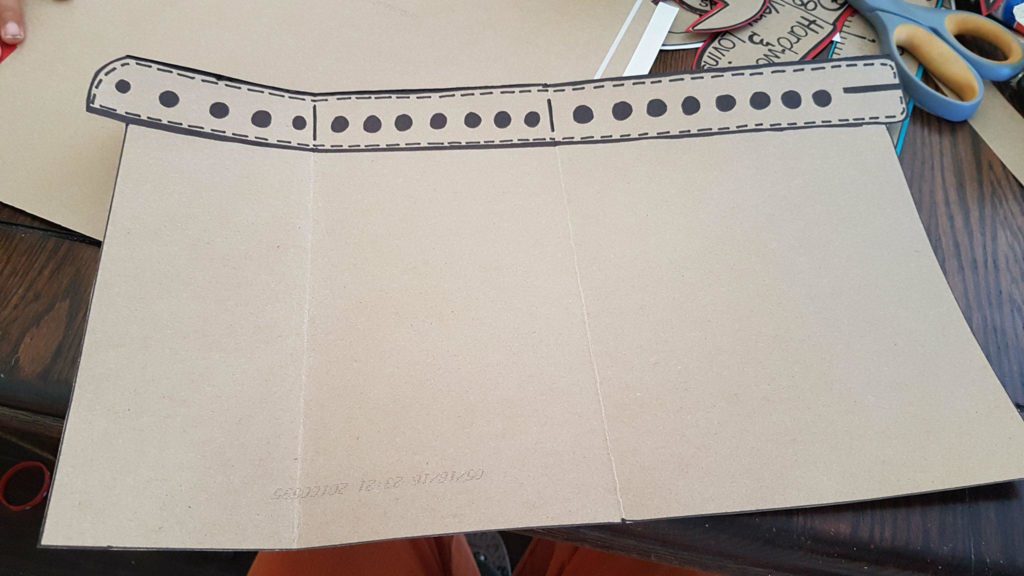
 → Newspaper
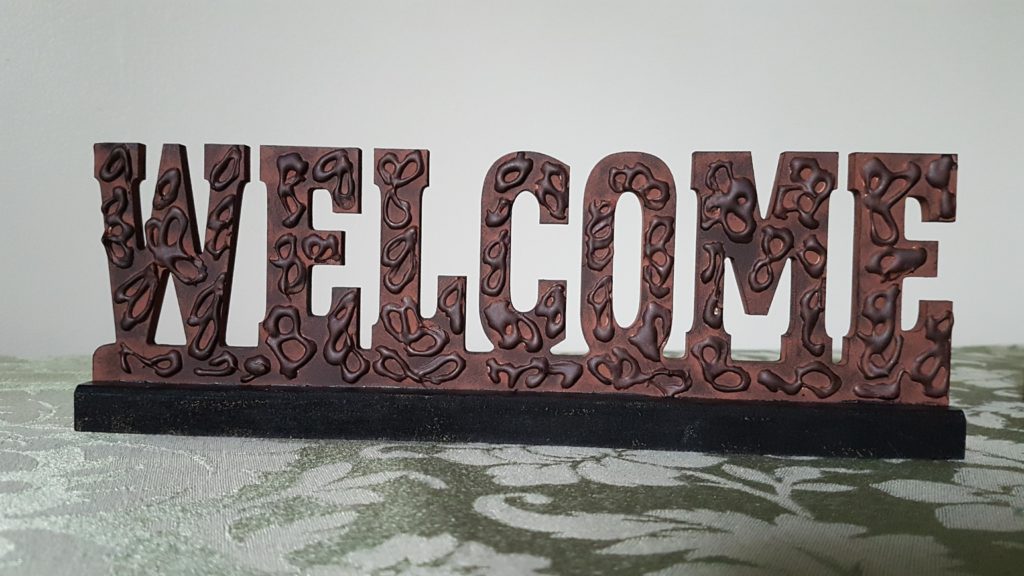
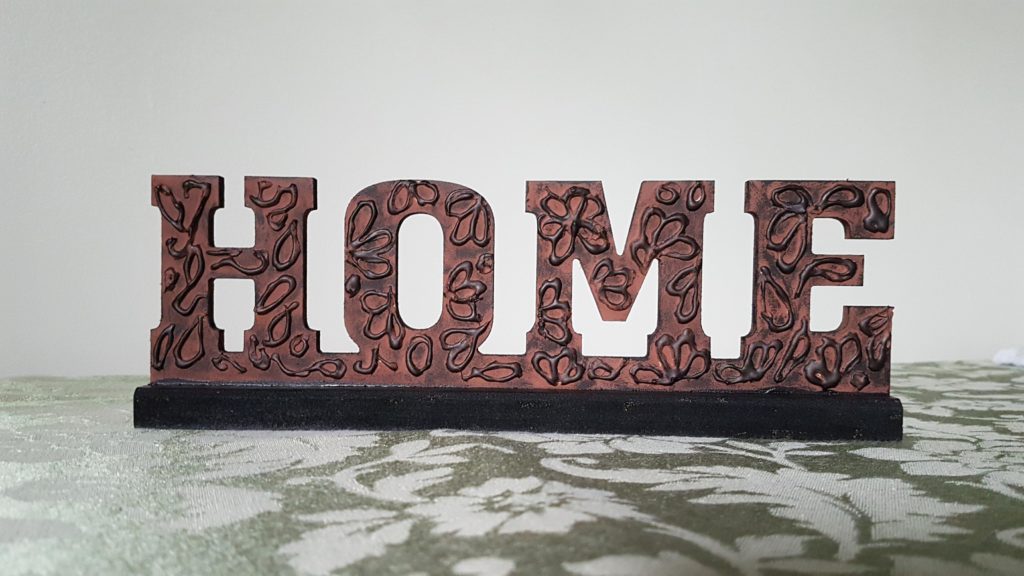 Its easy and inexpensive, your creativity will bring everything into life. A video of making this will be available soon!