Kick start 2018 with a craft, a DIY embossed word home decor can suit on top of your dresser or in any table top in your bedroom, living room or hallway!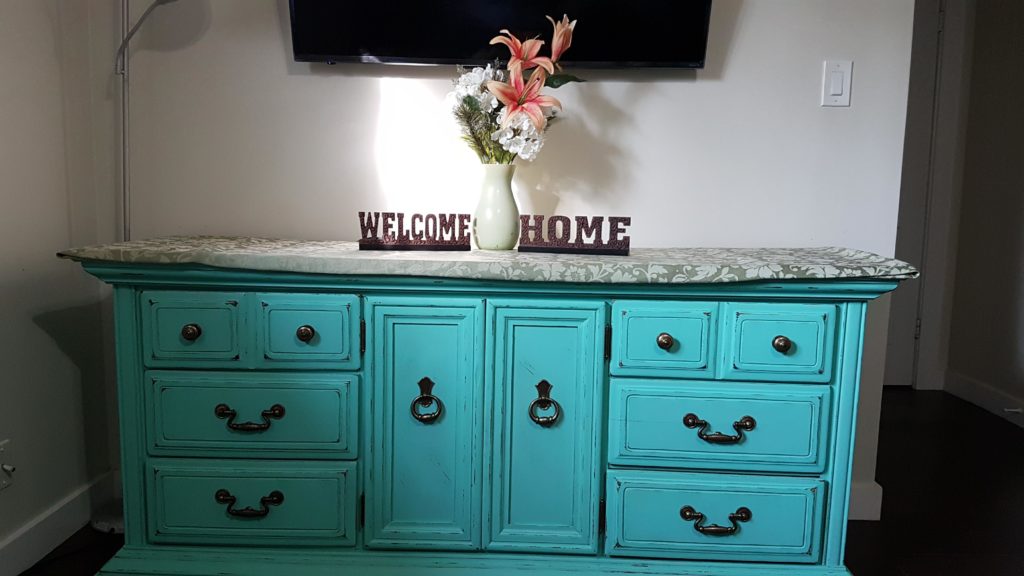 Isn’t it fun to have your displays at home customized and self made? For me its a big YES! Its unique and you can have all your imagination come to life into an awesome craft! Having an authentic house decor doesn’t have to be expensive, it only takes some creativity to make that wonderful idea into reality and transform it into a beautiful masterpiece. I thought that it would be the perfect time to start making DIY displays after redesigning our room last new year.
I love all things unique but I don’t want to spend much for it lol and so that’s where my crafty mind kicks in. I thought of a word template that would be perfect on top of the long dresser we have in our room and I found one in 99 cents store, its a “welcome home” word template. I’ve selected paint colors that would make it look like its wooden and vintage or antique. It will only require few materials and the procedure is simple and easy, it will only take you some time to turn that empty blank template into that real thing you imagined it to be, vintage and unique.
EMBOSSED DIY WORD DECOR
Materials Needed: → Newspaper
→ Word template (Welcome Home)
→ Glue Gun
→ Extra glue stick
→ Chalk Paint/ Any Paint (Brown, Black)
→ Paint brush
→ Wax (Dark) (optional)
Choose your desired word template and paint colors depending on your preferred design too. The wax is optional, if you want to use a standard paint then you don’t need it but I chose to used chalk paint instead. In order for me to achieve the antique design I want, I have to use dark wax instead of the clear one. Now for the steps and procedures, I started off by designing the template with the hot glue gun and the glue stick.
Steps:
- Cover your work area with newspaper so that whenever you use paint, your table or any of the surface you’ll be working on will stay clean.
- With the glue gun, design the template in your desire. In my case I want it to look like a leaf or flowers so I swirled the gun and glued down one layer of circles and let it dry.
Tips: When using the glue gun, make sure to take off the extra glue thread or web that it makes so that when you apply paint on top of it, the embossed design will look clean and neat. The word template will looked embossed with the embossed effect of the design from the dried glue that was applied.
3. Apply first coat of desired paint color on the front side of the letters using the paint brush and wait for a little while until the first coat dries up.
Tips: If you are using different colors and you only use 1 paint brush, make sure to wash it well with water so the paint don’t mix with another color. The paint brush will also be used in the application of the wax so before and after make sure the brush is cleaned well.
4. I chose a different color for the base so after I painted the front side of the letters I followed the base, I painted it in black color. Let it dry.
5. Next step is to apply the second coat of paint on the front side of the letters and let it dry. This will be your background color.
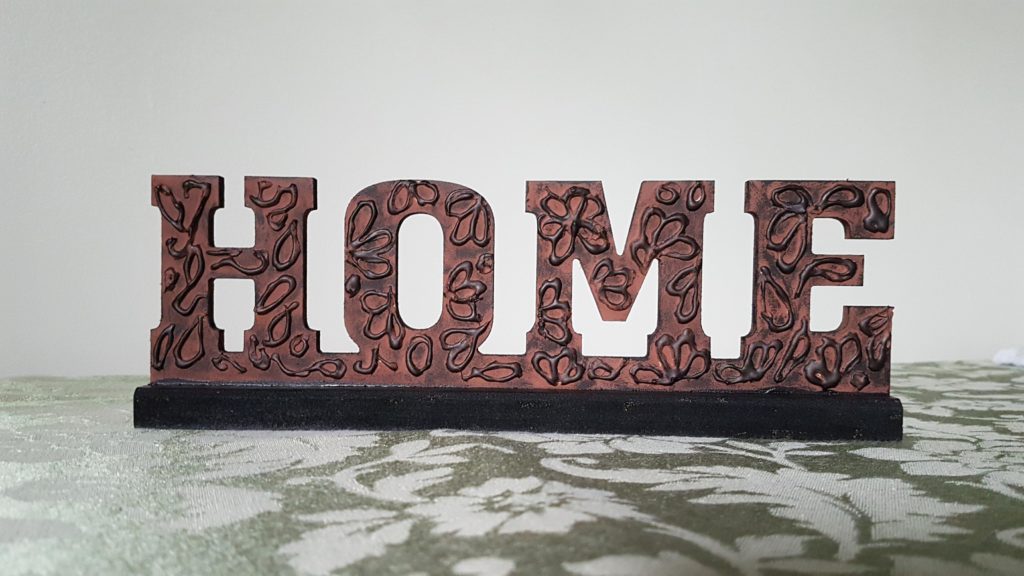
6. Then apply the dark wax on the side and the entire back side of the letters using the paint brush.
7. Finally, when the brush has less wax on it, you can direct your paint brush unto the front side. The embossed design made by the hot glue will be highlighted by the wax and will stand out on its vintage look.
Tips: When brushing the dark wax on the letters, make sure that the brush has only very LESS wax on it because the wax is black and if you have a lot of it in the brush it will make the letters so dark and it will cover your first paint color which is your background.
After the final step, let it dry and Viola you have your masterpiece! 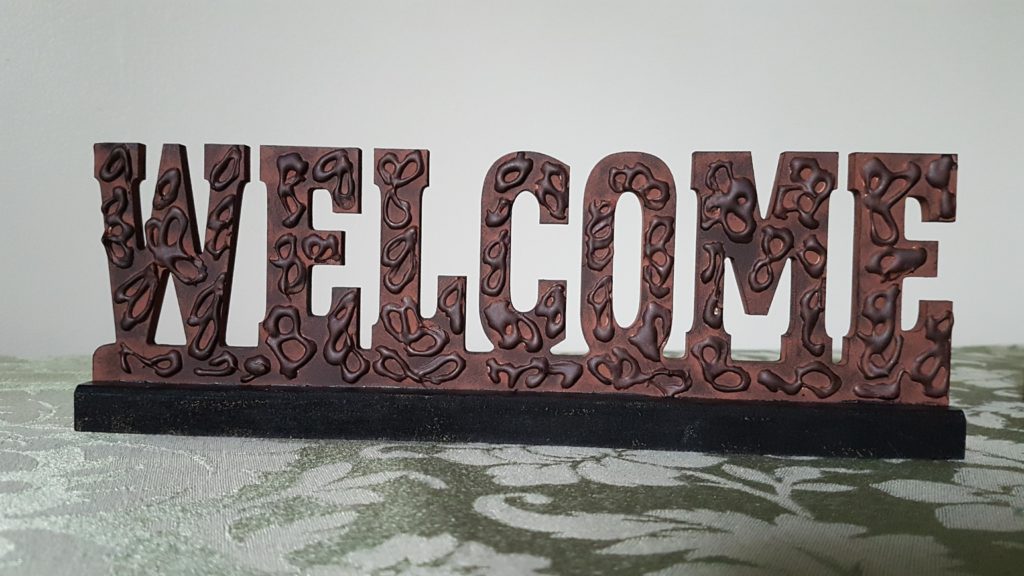
 Its easy and inexpensive, your creativity will bring everything into life. A video of making this will be available soon!
You can do it, make it possible! just put in your wildest imagination and leave it to your crafty hands! Are you crafty too? Have you tried this before? or you want to try making one like this? If so let me know in the comment or tag me on facebook: @ifillLife and I’ll be happy to see it and learn some tips from you too!
Leave a Reply